How to add and manage project statuses
Project statuses in ProofHub help you track the progress and current state of your projects. Follow these steps to manage your project statuses:
Add a project status
Section titled “Add a project status”-
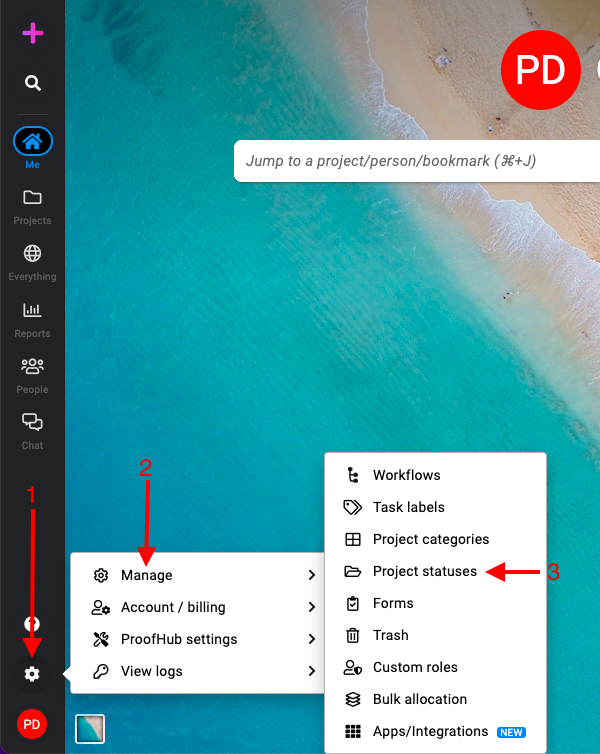
Manage section: Select the “Manage” section and select “Project statuses“.
-
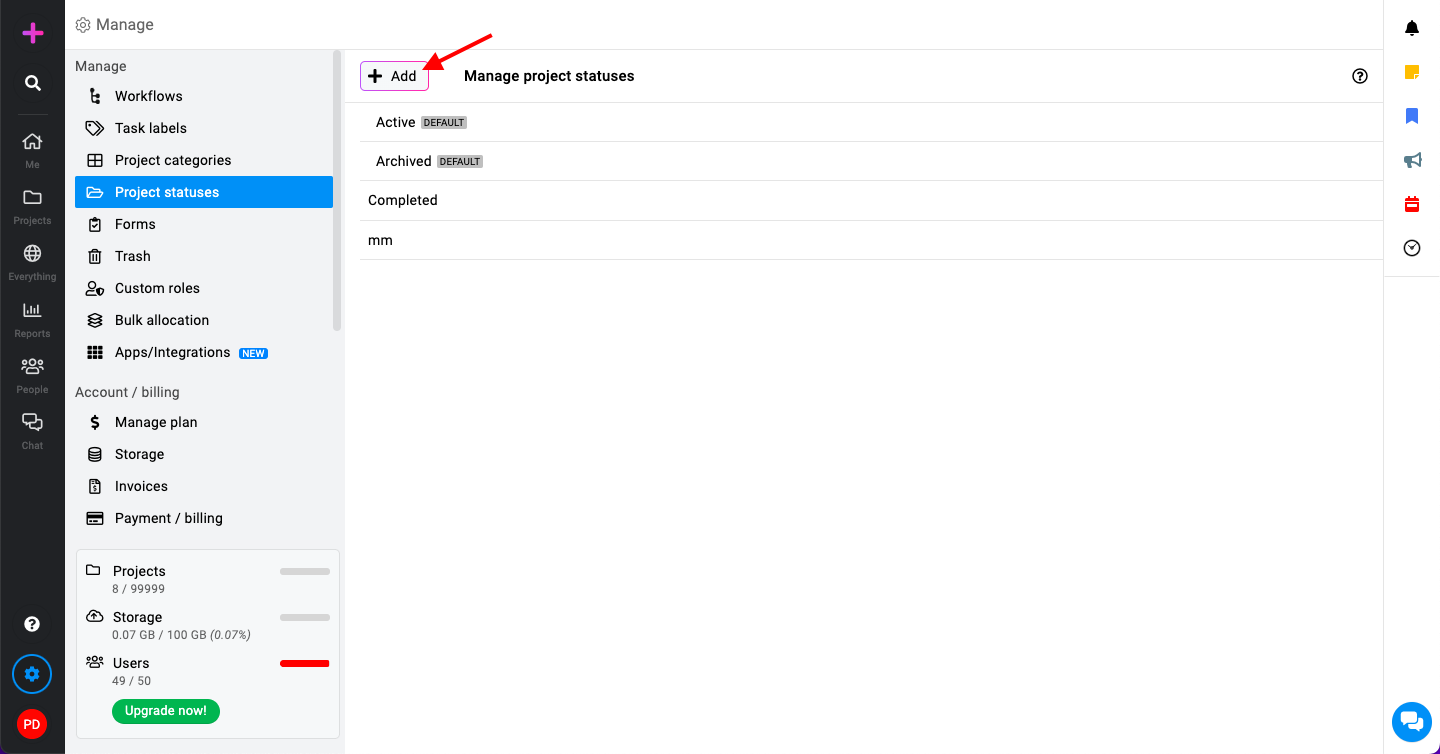
Add a new project status:
-
Click the “Add” button.
-
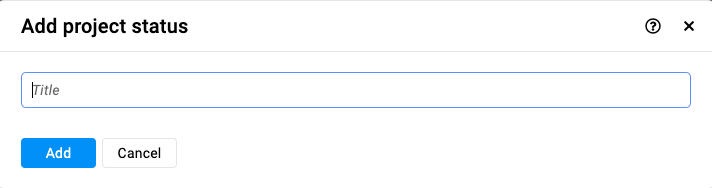
Enter a title and click “Add”.
-
Edit a project status
Section titled “Edit a project status”-
Right-click or click on the three dots and select “Edit”.

-
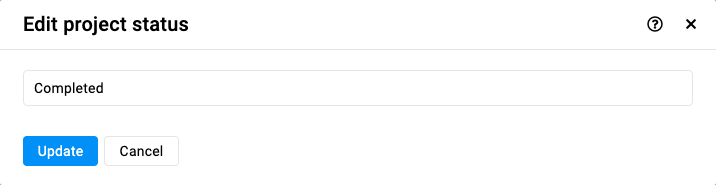
From the edit window make changes as required and click “Update“.
Note: “Active” and “Archived” project statuses are system defaults and cannot be edited.
Delete a project status
Section titled “Delete a project status”-
Right-click or click on the three dots and select “Delete”.

-
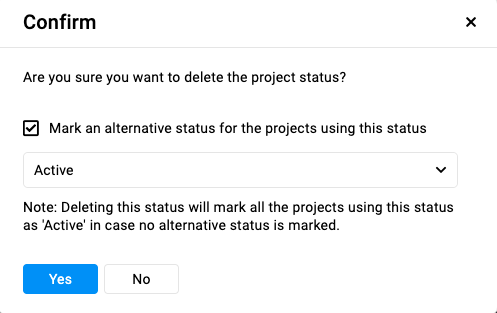
Associate an alternative project status and select “Yes” within this confirmation window to proceed with deletion.
Note: “Active” and “Archived” project statuses are system defaults and cannot be deleted. ProofHub keeps items in the “Trash” for 15 days. Restore them easily by going to Trash. For detailed instructions on restoring deleted items from the trash, please refer to Trash.
Create a copy of the project status
Section titled “Create a copy of the project status”-
Right-click or click on the three dots and select “Create a copy”.

-
Enter a new title as required and click “Ok” to save.
